
Intro
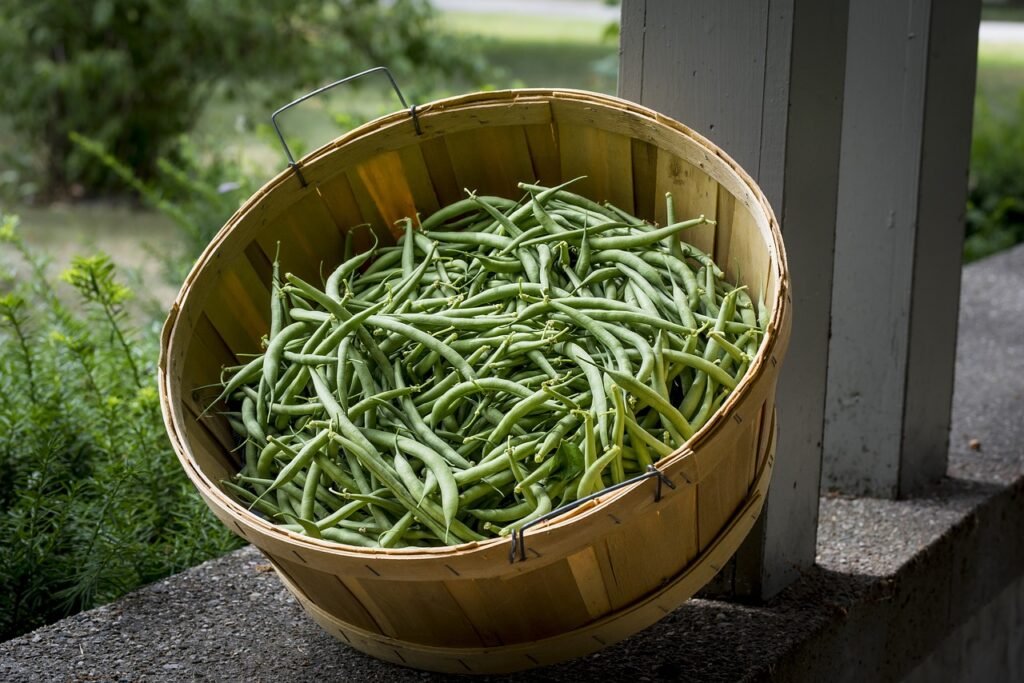
Have you ever found yourself standing in a garden overflowing with green beans, wondering how you can preserve this bounty before it goes to waste? Canning green beans is a fantastic way to extend the life of your harvest, allowing you to enjoy the fruits of your labor throughout the year.
Whether you’re a seasoned gardener or a newbie to the world of home canning, this guide will take you through everything you need to know about how to can green beans, ensuring your pantry is stocked with these nutritious gems.
Understanding the Basics of Canning Green Beans

Canning serves as a preservation technique that locks in the freshness and flavor of green beans by processing and sealing them in airtight containers. The key to canning green beans effectively lies in the use of a pressure canner.
This method is essential for low-acid vegetables like green beans to ensure safety and prevent the growth of harmful bacteria, particularly Clostridium botulinum, which can cause botulism. Unlike high-acid foods that can be preserved using a water bath canner, green beans require the higher temperatures achieved through pressure canning to destroy bacteria and enzymes, ensuring the beans are safe to consume.
The process involves heating jars filled with green beans and water to a specific pressure, indicated in pounds of pressure (psi), for a set amount of time. This high-pressure environment forces heat into the jars at a much higher temperature than boiling water, effectively sterilizing the contents and eliminating potential threats. It’s this combination of pressure and temperature that makes pressure canning the only recommended method for canning green beans.
To embark on canning green beans, it’s vital to have a functioning pressure canner, jars, lids, and rings. Each component plays a crucial role in ensuring the integrity and safety of the canning process. As this method relies heavily on maintaining proper pressure and temperature, familiarizing yourself with the operational aspects of your pressure canner is fundamental to achieving successful outcomes in preserving your green beans.
Preparing Your Green Beans for Canning
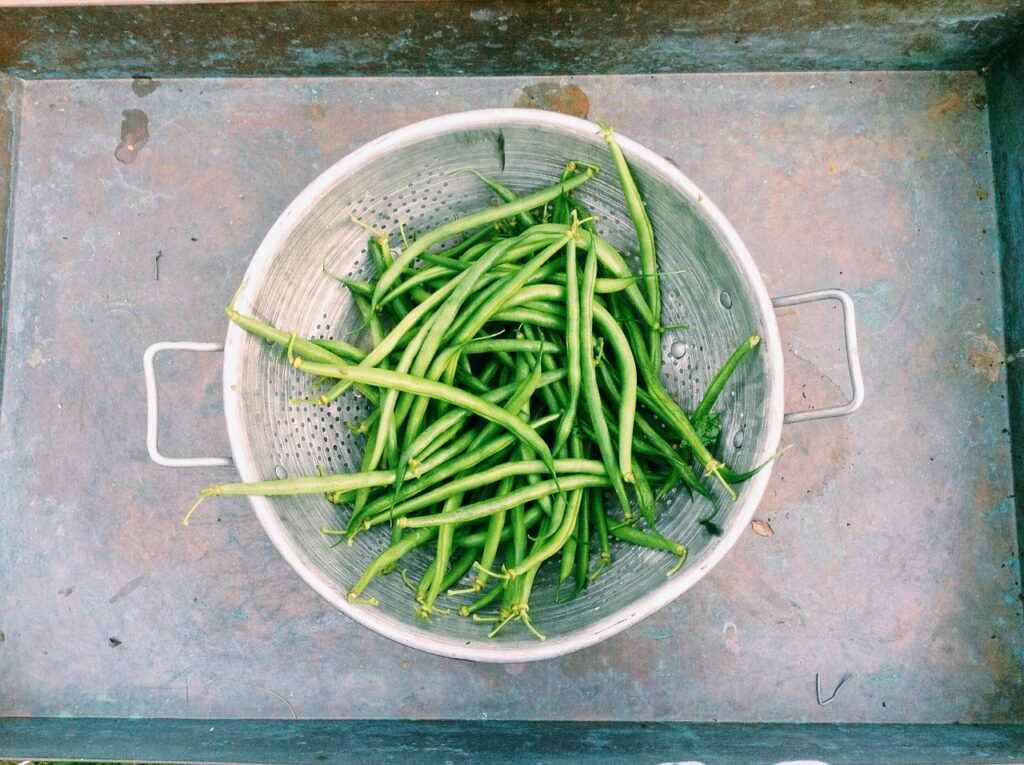
Before diving into the canning process, it’s crucial to prepare your green beans with care to ensure a quality end product. Begin by thoroughly washing the beans under cool, running water. This initial step is vital for removing any lingering soil, bugs, or other foreign material that might have hitched a ride from the garden.
After washing, take time to trim the ends off each bean. This can be done by snapping off the ends with your fingers or using a knife for a clean cut. Depending on your preference, you may also want to cut or snap the beans into smaller, more manageable pieces. This not only makes them easier to pack into jars but also allows for more uniform cooking and preservation.
When preparing your beans, inspect each one carefully. Discard any that show signs of spoilage, damage, or disease, as these can affect the taste and safety of your canned beans. Only the healthiest, freshest beans should make it into your jars. This meticulous preparation ensures that the quality of the beans going into the canning process is optimal, setting the stage for a successful preservation effort.
With your green beans cleaned and prepped, you’re now ready to move on to packing them into jars and getting them ready for the canning process, ensuring they’ll be enjoyed long after the growing season has ended.
Choosing the Right Canning Method

When it comes to preserving green beans, selecting the appropriate canning technique is critical for both safety and quality. While high-acid foods may be safely canned using the water bath method, green beans, being low in acid, require a different approach. Pressure canning is the method of choice for these vegetables, due to its ability to reach higher temperatures than boiling water. This method utilizes steam under pressure to achieve temperatures beyond the boiling point, essential for killing off any bacteria, spores, or enzymes that could potentially spoil the beans or make them unsafe to eat.
The necessity for pressure canning stems from the nature of green beans and similar low-acid foods. These items do not naturally inhibit the growth of bacteria in the same way that acidic foods do. Consequently, without the intense heat provided by pressure canning, it’s possible for harmful microorganisms to survive the canning process, posing a risk to food safety. It’s important to understand that pressure canning is not merely a preference but a requirement for low-acid vegetables to ensure that your canned goods are both delicious and safe to consume throughout the year.
By adhering to this method, you’re taking an important step in food preservation that safeguards against the potential for foodborne illnesses, ensuring that your green beans retain their taste, texture, and nutritional value. With pressure canning, you can confidently store and enjoy your green beans, knowing they have been preserved using the best method for their unique characteristics.
The Step-by-Step Guide to Pressure Canning Green Beans

Begin by getting your pressure canner ready. Add 2 to 3 inches of water, as your canner’s manual suggests, and start heating it on the stove. Sterilize your canning jars next and pack them tightly with the prepped green beans, leaving about a 1-inch headspace at the top. For added flavor, sprinkle a teaspoon of salt into each quart jar.
Carefully pour boiling water over the beans in the jars, still maintaining that essential 1-inch headspace. To eliminate air pockets that could affect preservation, glide a non-metallic tool around the inside edge of the jars.
Before sealing, wipe down the jar rims with a damp cloth to remove any residue that might impede sealing, then place the lids on top and secure them by twisting the bands until just tight. Place your jars in the heated canner, secure the lid, and increase the heat. When steam begins to vent, process pint jars for 20 minutes and quart jars for 25 minutes at 10 pounds of pressure, adjusting the pressure as needed based on your location’s altitude.
Once done, switch off the heat and let the canner cool naturally. Do not attempt to open the lid until it has completely depressurized. Gently remove the jars from the canner and place them on a towel to cool for 24 hours, making sure they’re not touching to allow for adequate air circulation. For more information on pressure canning visit this article https://earthenink.com/index.php/2024/02/01/instant-pot-canning-a-guide-for-beginners/
Cooling and Storing Your Canned Green Beans

Once the pressure canning process is complete and your jars have been carefully removed from the canner, it’s essential to let them cool undisturbed for a full 24 hours. This cooling period is critical for ensuring the seals form properly, securing the safety and longevity of your canned goods. After the designated cooling time, it’s time to test the seals.
You can do this by gently pressing the center of each jar’s lid. A properly sealed lid will not pop up and down; if the seal is tight, your green beans are ready for storage. For any jars that didn’t seal correctly, move them to the refrigerator immediately and plan to use these beans within a couple of days to prevent spoilage.
When storing sealed jars, choose a cool, dark location, such as a pantry or cellar, avoiding direct sunlight or extreme temperature fluctuations. This environment helps maintain the quality of the green beans and prolongs their shelf life. Organizing your jars by date will also help ensure you use the oldest ones first, keeping your stock fresh.
Although your canned green beans can last up to a year or longer when stored correctly, it’s a good practice to consume them within a year for the best taste and nutritional value. Regularly inspect your stored jars for any signs of spoilage or seal failure and discard any that appear compromised. Proper cooling and storage are the final, crucial steps in preserving the vibrant taste and nutritional benefits of your green beans well beyond the harvest season.
Tips for Perfectly Canned Green Beans Every Time

For those eager to master the art of canning green beans, a few key tips can elevate your preservation game to the next level. Firstly, prioritize the freshness of your beans. The crisper and more vibrant they are before canning, the better they will taste after being preserved. Additionally, when filling your jars, allow for sufficient space. Overcrowding can hinder proper heat penetration, essential for sterilization. It’s also crucial to adapt your canning process to your specific altitude; the higher you are, the adjustments in pressure and processing time needed to ensure safety and quality.
Inspect your canning equipment carefully before each use. Even minor flaws in jars or lids can compromise the seal, leading to potential spoilage. Keeping a canning journal can also be immensely helpful. Note down the details of each batch, such as the harvest date of your green beans, the processing time, and any tweaks you made. This record-keeping will not only help you replicate successful batches but also troubleshoot any issues that arise.
By integrating these tips into your canning routine, you’re more likely to achieve consistent results. Remember, the goal is not just to preserve your green beans but to do so in a way that maintains their flavor and nutritional content as much as possible. With a little practice and attention to detail, you’ll be well on your way to enjoying your garden’s bounty all year round.


One thought on “Green Beans Galore: How to Preserve Your Bounty”